Beginner's Guide to Using WSL on Windows 11

I was an Ubuntu / Mac user, but two years ago, I switched back to Windows. Why? Well, because of the high prices of MacBooks 😢, and my company assigned me a machine with Windows 11 Pro.
However, as a frontend developer, most of my code and my apps run on Linux servers with .Net Core, Node, or Docker. So, using Linux should be a good option, right?
How I can use Linux if I have a Windows Machine ?
In the past, I used VMware or VirtualBox with a Linux distribution, dual-booted, or used another machine with Linux for my experiments with Linux. However, Canonical and Microsoft worked together to create WSL (and WSL2), which simplifies bringing Linux to Windows users. It removes complexity, makes collaboration between operating systems easier, and allows for easy integration between Linux and Windows hosts, taking advantage of the machine's resources.
The goal is to provide frontend developers using Windows and WSL with a basic understanding of Linux.
Install WSL
First, ensure you have the Windows Pro version. Then, open the terminal and run the command wsl --install to install WSL on your Windows.
wsl --installBy default, it installs the Ubuntu Linux distro. Once the installation is complete, our terminal automatically switches to the Ubuntu environment and prompts us to create a user and password.
Then, open the terminal and enter wsl to switch to the Ubuntu environment. However, Ubuntu isn't the only option. To view all available distributions online, use the command wsl --list --online.
C:\Users\DPAREDES>wsl --list --online
The following is a list of valid distributions that can be installed.
Install using 'wsl.exe --install <Distro>'.

NAME                                   FRIENDLY NAME
Ubuntu                                 Ubuntu
Debian                                 Debian GNU/Linux
kali-linux                             Kali Linux Rolling
Ubuntu-18.04                           Ubuntu 18.04 LTS
Ubuntu-20.04                           Ubuntu 20.04 LTS
Ubuntu-22.04                           Ubuntu 22.04 LTS
OracleLinux_7_9                        Oracle Linux 7.9
OracleLinux_8_7                        Oracle Linux 8.7
OracleLinux_9_1                        Oracle Linux 9.1
openSUSE-Leap-15.5                     openSUSE Leap 15.5
SUSE-Linux-Enterprise-Server-15-SP4    SUSE Linux Enterprise Server 15 SP4
SUSE-Linux-Enterprise-15-SP5           SUSE Linux Enterprise 15 SP5
openSUSE-Tumbleweed                    openSUSE Tumbleweed
To install a specific distro, we can run wsl --install -d Ubuntu command
wsl --install -d Ubuntuor see all the distros installed on your machine with command wsl --list command.
C:\Users\DPAREDES>wsl --list
Windows Subsystem for Linux Distributions:
rancher-desktop-data (Default)
rancher-desktop
Ubuntu
You can remove a distro using the command wsl --unregister Ubuntu. If you have multiple distros, you can specify which one to remove with wsl -d followed by the distro's name, for example:
wsl -d UbuntuIf you want to set Ubuntu as default distro, run the command
wsl -s Ubuntu
Ok, we have Linux ready on our machine, but how do we start with it?
WSL Basic
Into the WSL, we have a linux, ready so we can install package like ngnix for run a local webserver.
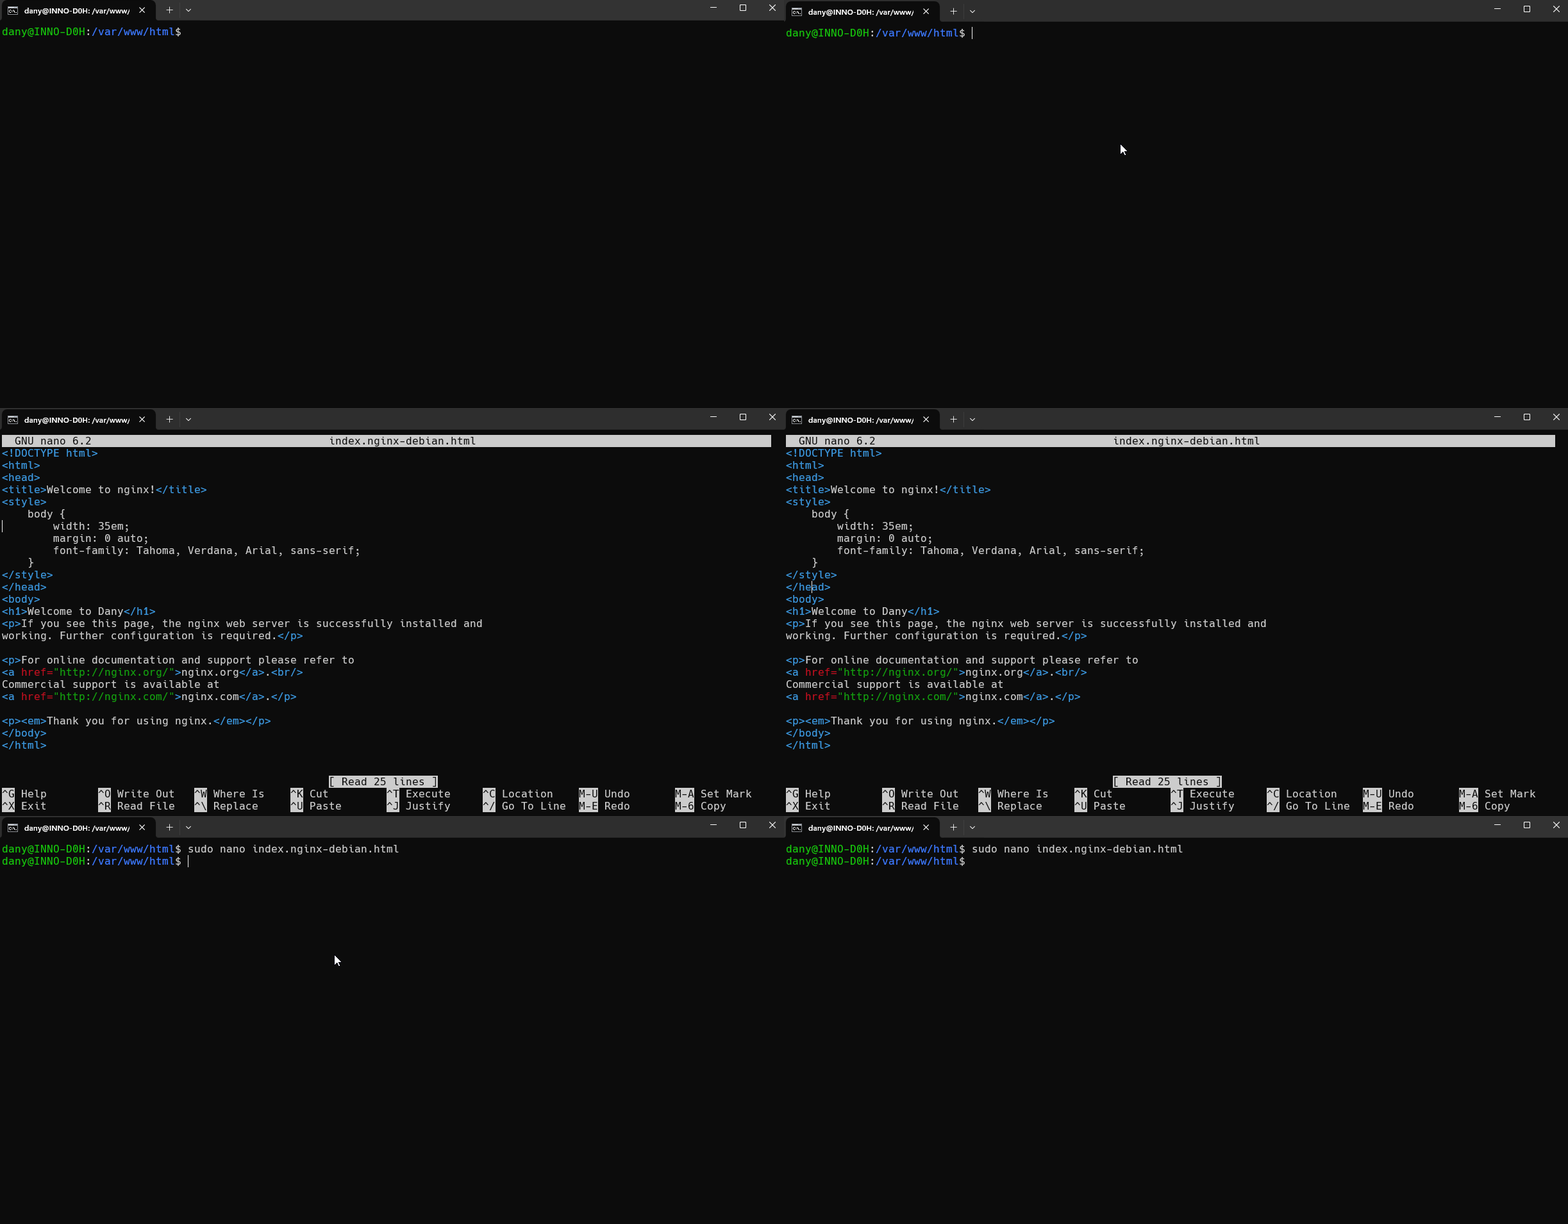
sudo apt install nginxAfter installing, we can edit the default HTML file located at /var/www/html/index.nginx-debian.html.

We can edit the file index.nginx-debian.htmlby using nano. Nginx runs on port 80, so we can access it via the URL http://localhost.

We can also install NVM and the latest version of Angular CLI. First, we install the NVM Node Version Manager by running the command.
curl -o- https://raw.githubusercontent.com/nvm-sh/nvm/v0.40.3/install.sh | bashAfter installed, install the lts version with the command nvm install --lts
dany@INNO-D0H:~$ nvm install --lts
Installing latest LTS version.
Downloading and installing node v20.11.1...
Downloading https://nodejs.org/dist/v20.11.1/node-v20.11.1-linux-x64.tar.xz...
############################################################# 100.0%
Computing checksum with sha256sum
Checksums matched!
Now using node v20.11.1 (npm v10.2.4)
dany@INNO-D0H:~$ nvm use v20.11.1
dany@INNO-D0H:~$ npm install -g @angular/cli
The Angular CLI, create a new app and access it from your local machine.
dany@INNO-D0H:~$ ng new lab
dany@INNO-D0H:~$ cd lab/
dany@INNO-D0H:~/lab$ ls
README.md     package-lock.json  tsconfig.app.json
angular.json  package.json       tsconfig.json
node_modules  src                tsconfig.spec.json
dany@INNO-D0H:~/lab$ ng serve
⠏ Building...
Initial chunk files | Names         |  Raw size
polyfills.js        | polyfills     |  83.60 kB |
main.js             | main          |  22.08 kB |
styles.css          | styles        |  95 bytes |

                    | Initial total | 105.78 kB
Application bundle generation complete. [0.772 seconds]
Watch mode enabled. Watching for file changes...
  ➜  Local:   http://localhost:4200/
  ➜  press h + enter to show help
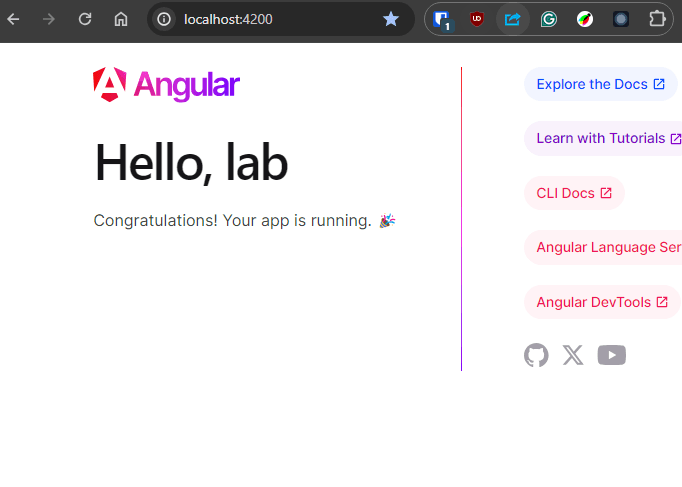
After running ng serve, access the application by opening http://localhost:4200 in your browser.

How to Access WSL Files in Windows?
When we run WSL, Ubuntu operates in the same environment as our terminal. But how do we access Ubuntu files from Windows?
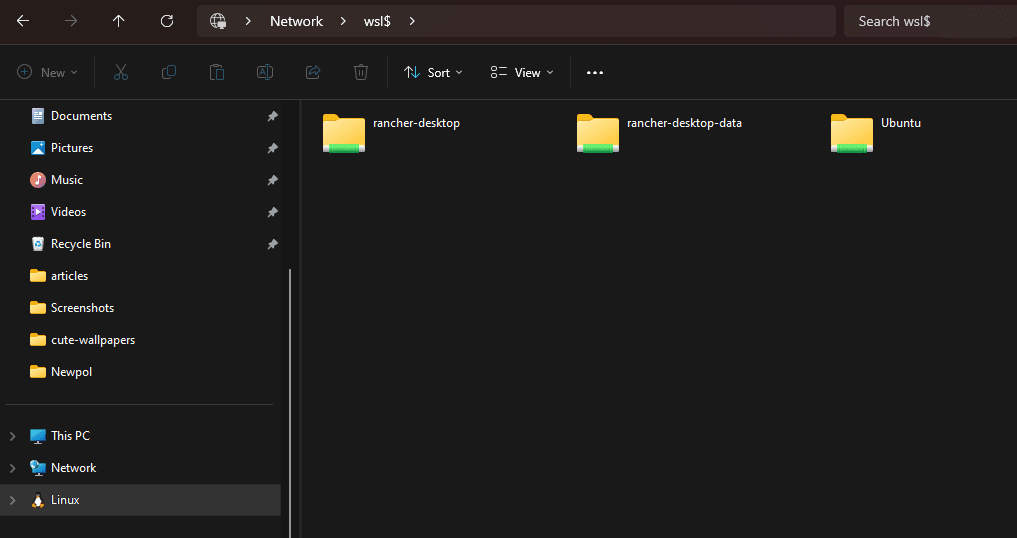
In the Windows File Explorer, type \\wsl$ and it will display all installed WSL distributions.

This seems straightforward, but what if I want to access my Windows system from Ubuntu?
By using the ln command, we create a link between Linux and our home directory.
dany@INNO-D0H:~$ ln -s /mnt/c/Users/DPAREDES/Desktop/projects/ ~/projectsWhen we return to the home directory, we can see the link to the project directory, for example.
dany@INNO-D0H:~$ cd
dany@INNO-D0H:~$ ls
lab  projects
dany@INNO-D0H:~$ cd projects
dany@INNO-D0H:~/projects$ ls
articles  challenge-frontend-master  lab  projects
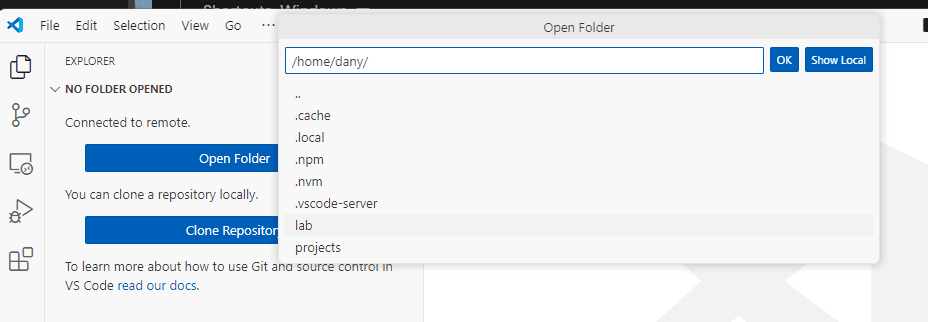
Another way to access files is by using the WSL VSCode extension in VSCode.

Checkout the full tutorial https://code.visualstudio.com/docs/remote/wsl-tutorial

If you like me are Webstorm fan, it's have support 👇🏼
Recap
We learned how to use WSL to combine the best of Linux and the simplicity of Windows. WSL greatly simplifies creating a sandbox to experiment with our projects and test in a real Linux environment. It's much easier than installing VMware or VirtualBox, and you can run all Linux software from Windows.
If you want to learn more, check out the following links:
Real Software. Real Lessons.
I share the lessons I learned the hard way, so you can either avoid them or be ready when they happen.
Join 13,800+ developers and readers.
No spam ever. Unsubscribe at any time.