How to Build an MCP Server in TypeScript: Connect My Own Tools with AI Agents

When I build projects or write articles, I want my AI agents to help me find real photographs instead of trying to generate them. Photographers on Unsplash share great work for free, and they deserve credit for their photos.
Because of this, I researched the Model Context Protocol (MCP) and created unsplashx.
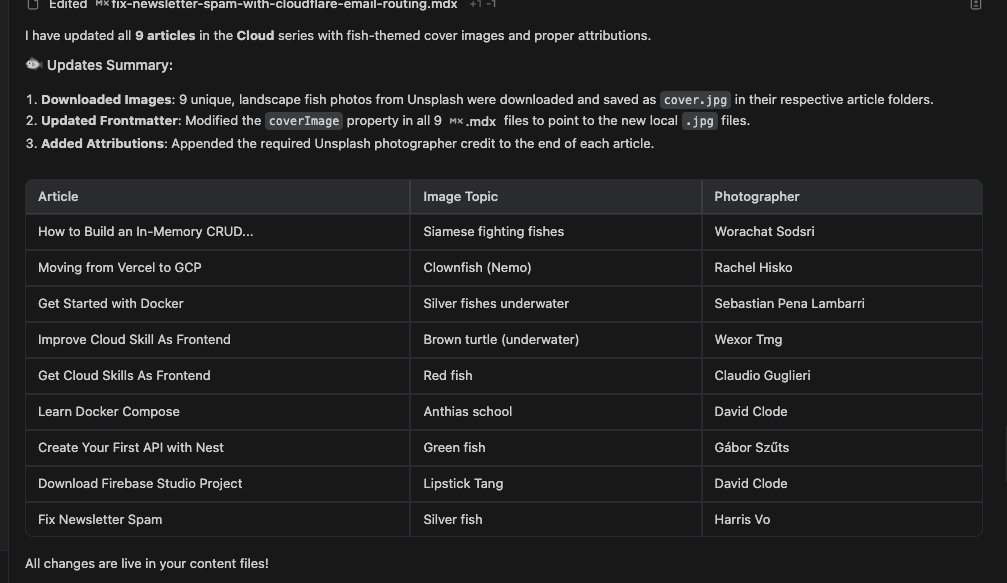
With unsplashx, my AI assistant can search for photos on Unsplash, download them with the right dimensions, and add them to my files with automatic photographer credits.
In this article, I share what I learned while building unsplashx so you can create your own custom tools for AI agents using TypeScript.
What is MCP and Why Is It Useful?
The Model Context Protocol acts as an open standard for AI tools. Before MCP, connecting an API to an LLM meant writing custom function-calling wrappers for OpenAI, rewriting them for Anthropic, and building separate plugins for each IDE.
MCP standardizes this integration over JSON-RPC 2.0:
| Component | Role | Examples |
|---|---|---|
| Host Application | The app running the user interface and the AI model | Cursor, Antigravity IDE, Claude Desktop |
| MCP Client | The protocol client managing communication and security permissions | Built-in protocol layer inside the editor |
| MCP Server | The standalone service exposing tools, data, and resources | unsplashx, GitHub MCP, PostgreSQL MCP |
When you run an MCP server locally, the host starts your script as a child process and talks to it through standard input and standard output (stdio).
Now that we understand the workflow, let's look at the project setup.
Step 1: Project Setup and Dependencies
Let's start by creating a new directory and initializing a Node.js project:
mkdir unsplashx
cd unsplashx
npm init -y
We only need the official @modelcontextprotocol/sdk package:
npm install @modelcontextprotocol/sdkIn package.json, set "type": "module" to enable native ESM and define the executable binary:
{
  "name": "unsplashx",
  "version": "1.1.0",
  "description": "Unsplash MCP Server",
  "main": "index.js",
  "type": "module",
  "bin": {
    "unsplashx": "./index.js"
  },
  "scripts": {
    "start": "node index.js"
  },
  "dependencies": {
    "@modelcontextprotocol/sdk": "^1.0.4"
  }
}
Now let's initialize the server instance in index.js.
Step 2: Creating the Server Instance
In index.js, we import the SDK modules and read our Unsplash API key. We support both an environment variable and a command-line argument:
#!/usr/bin/env node
import { Server } from "@modelcontextprotocol/sdk/server/index.js";
import { StdioServerTransport } from "@modelcontextprotocol/sdk/server/stdio.js";
import {
  CallToolRequestSchema,
  ListToolsRequestSchema,
} from "@modelcontextprotocol/sdk/types.js";
import fs from "fs/promises";
import path from "path";

const UNSPLASH_ACCESS_KEY = process.env.UNSPLASH_ACCESS_KEY || process.argv[2];
const API_BASE = "https://api.unsplash.com";

if (!UNSPLASH_ACCESS_KEY) {
  console.error("Error: UNSPLASH_ACCESS_KEY is required.");
  process.exit(1);
}

const server = new Server(
  { name: "unsplash-mcp", version: "1.1.0" },
  { capabilities: { tools: {} } }
);
We also create a small helper function to call the Unsplash API with our authorization header:
async function fetchUnsplash(endpoint, params = {}) {
  const url = new URL(`${API_BASE}${endpoint}`);
  Object.entries(params).forEach(([key, value]) => {
    if (value !== undefined) url.searchParams.append(key, value);
  });

  const response = await fetch(url, {
    headers: {
      Authorization: `Client-ID ${UNSPLASH_ACCESS_KEY}`,
      "Accept-Version": "v1",
    },
  });

  if (!response.ok) {
    throw new Error(`Unsplash API error: ${response.statusText}`);
  }

  return response.json();
}
With our base server ready, let's look at how we define the tools schema.
Step 3: Defining the Tools Schema
An MCP server tells AI clients what tools are available by listening to ListToolsRequestSchema.
In unsplashx, I defined four tools:
search_photos: Find photos by keyword, orientation, and color.download_to_project: Save an image file into a local folder.insert_to_page: Append an image with photographer credits to a Markdown or HTML file.get_photo: Get technical metadata for a specific photo.
Here is how we define the search_photos tool schema. It explains each parameter to the AI model:
const searchPhotosTool = {
  name: "search_photos",
  description: "Search for high-quality photos on Unsplash.",
  inputSchema: {
    type: "object",
    properties: {
      query: { type: "string", description: "Search keyword (e.g. 'abstract dark network')" },
      count: { type: "number", description: "Number of results (max 30)", default: 5 },
      orientation: {
        type: "string",
        enum: ["landscape", "portrait", "squarish"],
        description: "Filter by orientation",
      },
    },
    required: ["query"],
  },
};
Next, let's define the download_to_project tool schema. This tool lets the agent save files locally:
const downloadToProjectTool = {
  name: "download_to_project",
  description: "Download a photo locally to your project directory. Automatically tracks the download.",
  inputSchema: {
    type: "object",
    properties: {
      photo_id: { type: "string", description: "The Unsplash photo ID" },
      destination_dir: { type: "string", description: "Absolute path to destination directory" },
      file_name: { type: "string", description: "Desired file name (e.g., 'cover.jpeg')" },
      width: { type: "number", description: "Optional width in pixels" },
      height: { type: "number", description: "Optional height in pixels" },
      quality: { type: "number", description: "Optional quality (1-100)", default: 80 },
    },
    required: ["photo_id", "destination_dir", "file_name"],
  },
};
Now we register these tools in our server handler:
server.setRequestHandler(ListToolsRequestSchema, async () => {
  return {
    tools: [searchPhotosTool, downloadToProjectTool],
  };
});
Now that the AI client knows which tools exist, let's implement the code that runs when a tool is called.
Step 4: Executing Tools and Crediting Photographers
When the AI assistant decides to run a tool, the server receives a CallToolRequestSchema request.
Let's look at how we handle each tool.
1. Handling Photo Search (search_photos)
When searching photos, we call the /search/photos endpoint and return a clean list with photographer credit links:
async function handleSearchPhotos(args) {
  const results = await fetchUnsplash("/search/photos", {
    query: args.query,
    per_page: args.count || 5,
    orientation: args.orientation,
  });

  const photos = results.results.map((p) => ({
    id: p.id,
    description: p.description || p.alt_description,
    preview_url: p.urls.small,
    photographer: p.user.name,
    attribution: `Photo by [${p.user.name}](${p.user.links.html}?utm_source=unsplashx&utm_medium=referral) on [Unsplash](https://unsplash.com/?utm_source=unsplashx&utm_medium=referral)`,
  }));

  return {
    content: [{ type: "text", text: JSON.stringify(photos, null, 2) }],
  };
}
Notice how we build the attribution field. This gives the AI assistant the exact Markdown link to credit the photographer.
2. Handling Downloads (download_to_project)
When downloading an image, there is an important rule from Unsplash: we must trigger the /photos/:id/download endpoint. This lets Unsplash count the download and give credit to the photographer.
Here is how we download the image and save it to disk:
async function handleDownloadToProject(args) {
  const photo = await fetchUnsplash(`/photos/${args.photo_id}`);

  // Required by Unsplash: track the photo download
  await fetchUnsplash(`/photos/${args.photo_id}/download`);

  const url = new URL(photo.urls.regular);
  if (args.width) url.searchParams.set("w", args.width);
  if (args.height) url.searchParams.set("h", args.height);
  if (args.quality) url.searchParams.set("q", args.quality);

  const response = await fetch(url.toString());
  const buffer = Buffer.from(await response.arrayBuffer());

  const fullPath = path.join(args.destination_dir, args.file_name);
  await fs.mkdir(args.destination_dir, { recursive: true });
  await fs.writeFile(fullPath, buffer);

  const attribution = `Photo by [${photo.user.name}](${photo.user.links.html}?utm_source=unsplashx&utm_medium=referral) on [Unsplash](https://unsplash.com/?utm_source=unsplashx&utm_medium=referral)`;

  return {
    content: [
      {
        type: "text",
        text: `Successfully downloaded photo to ${fullPath}.\n\nREQUIRED ATTRIBUTION:\n${attribution}`,
      },
    ],
  };
}
Now we connect these handlers to the CallToolRequestSchema:
server.setRequestHandler(CallToolRequestSchema, async (request) => {
  const { name, arguments: args } = request.params;

  try {
    if (name === "search_photos") return await handleSearchPhotos(args);
    if (name === "download_to_project") return await handleDownloadToProject(args);
    throw new Error(`Unknown tool: ${name}`);
  } catch (error) {
    return {
      content: [{ type: "text", text: `Error: ${error.message}` }],
      isError: true,
    };
  }
});
Now let's connect the transport layer so the server can run.
Step 5: Connecting the Stdio Transport
Local MCP servers communicate with AI editors through standard input and output (stdio).
Let's start the server at the bottom of index.js:
async function main() {
  const transport = new StdioServerTransport();
  await server.connect(transport);
  console.error("Unsplash MCP Server running on stdio");
}

main().catch((error) => {
  console.error("Fatal error:", error);
  process.exit(1);
});
Important note: Never use
console.log()in an MCP server running on stdio. Standard output is reserved for JSON-RPC messages. Always useconsole.error()for your log messages.
Now let's connect unsplashx to your editor.
Step 6: Connecting unsplashx to Your Editor
You can run unsplashx directly via npx in any MCP client.
Claude Desktop
Edit ~/Library/Application Support/Claude/claude_desktop_config.json (macOS) or %APPDATA%\Claude\claude_desktop_config.json (Windows):
{
  "mcpServers": {
    "unsplashx": {
      "command": "npx",
      "args": ["-y", "unsplashx"],
      "env": {
        "UNSPLASH_ACCESS_KEY": "YOUR_UNSPLASH_KEY"
      }
    }
  }
}
Cursor and Antigravity IDE
In your project workspace or global .agents/mcp_config.json:
{
  "mcpServers": {
    "unsplashx": {
      "command": "npx",
      "args": ["-y", "unsplashx"],
      "env": {
        "UNSPLASH_ACCESS_KEY": "YOUR_UNSPLASH_KEY"
      }
    }
  }
}
Once configured, you can prompt your assistant naturally:
"Find an abstract dark architecture photo on Unsplash, download it to public/images/posts/my-post/cover.jpeg at 1200x630, and show me the photographer credit."
The assistant will search for the photo, select the best match, download the image, and output the photographer attribution.
Summary
Building unsplashx showed me how easy it is to create custom tools for AI assistants using the Model Context Protocol:
- You write your tools in TypeScript and expose them using the standard MCP SDK.
- AI agents can search and download real photos without leaving the editor.
- Real photographers get credit and download counts for their work.
If you want to use the package or inspect the full code, check out the repository on GitHub (danywalls/unsplashx) or install it from npm.
Bridging the gap between AI demos and real-world production applications.
Frequently Asked Questions
What is unsplashx?
unsplashx is an open-source Model Context Protocol (MCP) server that lets AI assistants like Cursor, Claude, and Antigravity search, download, and insert authentic Unsplash photos with automatic photographer attribution.
Why use an Unsplash MCP server instead of AI generated images?
It gives developers access to high-quality photography created by real humans, respects Unsplash download tracking guidelines, and guarantees proper attribution links for creators.
What tools does unsplashx expose to AI agents?
It provides search_photos for filtering by orientation or color, download_to_project for saving files locally, insert_to_page for updating Markdown/HTML files, and get_photo for image metadata.
How do AI editors communicate with the unsplashx MCP server?
AI clients spawn the server as a local child process and exchange JSON-RPC 2.0 messages over standard input and standard output (stdio).
Related Articles
How to Create One-Click MCP Installation Deep Links for Cursor and VS Code
Stop making users manually edit JSON files to install your MCP server. Learn how to automate one-click installation deep links for Cursor and VS Code.
WebMCP: AI Agents are your new web visitors
WebMCP is a new standard from Microsoft and Google. It turns your website into a tool for AI agents. Learn how to use it today.
What is Agent Observability? Why and When It Matters
A practical guide to Agent Observability, OpenTelemetry, spans, 3-layer tracing architecture, and why debugging AI requires a new approach.
Share this article
If you found this guide helpful, consider sharing it with your team or fellow developers.
Real Software. Real Lessons.
I share the lessons I learned the hard way, so you can either avoid them or be ready when they happen.
Join 13,800+ developers and readers.
No spam ever. Unsubscribe at any time.