---
title: "Build Navigation in Angular with Router, RouterLink and Kendo UI"
date: "2024-02-19"
slug: "build-navigation-in-angular-with-router-routerlink-and-kendo-ui"
author: "Dany Paredes"
canonical: "https://danywalls.com/build-navigation-in-angular-with-router-routerlink-and-kendo-ui"
description: "When we build an application in Angular, it works as SPA so it is a single page with multiple views or pages running in the client. But how can we navigate between each one without a new request to the server? The Angular router updates the address b..."
---
When we build an application in Angular, it works as SPA so it is a single page with multiple views or pages running in the client. But how can we navigate between each one without a new request to the server?
The Angular router updates the address bar and loads views or pages without refreshing, linking a URL or path to a component to load. It does more than just updating the address bar and loading associated components.
The router helps to pass data between components, protects views with guards, combines or nests routes, helps with lazy loading, or works a state for our app.
I believe the best way to learn about the router is by building something, where we play with it, so let's do it!
## Setup The Project
Before we begin, we will create an app using the latest version of Angular CLI.
```bash
ng new play-with-router
```
Navigate to the play-with-router directory and run `ng serve` command.

Click on the link and it's open our sandbox to play with the router.

## The Router
Because we are a standalone app generated by Angular, our application starts by using the `main.ts`.
the `main.ts` contains the bootstrapApplication function, with the start point component in our case `AppComponent` and the `app.config.ts`.
```typescript
bootstrapApplication(AppComponent, appConfig)
.catch((err) => console.error(err));
```
The `app.config` is an object with the `providers` section, to provide functions to register dependencies for our app. In our case, we use the `provideRouter` function, which expects an array of routes for our app and a list of extra optional parameters.
```typescript
export const appConfig: ApplicationConfig = {
providers: [provideRouter(routes)]
};
```
By default, the CLI generates the `app.routes.ts` with an empty `ROUTES` array, ready for declaration.
```typescript
export const routes: Routes = [];
```
> Before Angular 16, we used the [RouterModule](https://angular.io/api/router/RouterModule) to provide and register our routes and give acesss to directives, services and types.
## Declare Route
Before declaring our routes, we need to create the following list of components home, about, and not-found in the pages directory using the Angular CLI.
```typescript
$ ng g c pages/home
CREATE src/app/pages/home/home.component.html (20 bytes)
CREATE src/app/pages/home/home.component.spec.ts (605 bytes)
CREATE src/app/pages/home/home.component.ts (239 bytes)
CREATE src/app/pages/home/home.component.scss (0 bytes)
```
Next, open the app.routes.ts and declare the first route in the routes array. The Route object has a bunch of properties, but for our case, we only set up `path` and `component`.

Import the component for each route, the path represents the path in the URL:
* `path: ''` : The main path like http://localhost:4200
* `path:'about'` : about path like http://localhost:4200/about-me
* `path: '**'`: works like a wildcard to any route like `http://localhost:4200/wherever-place`
The final code looks like this:
```typescript
import { Routes } from '@angular/router';
import {HomeComponent} from "./pages/home/home.component";
import {AboutComponent} from "./pages/about-me/about-me.component";
import {NotFoundComponent} from "./pages/not-found/not-found.component";
export const routes: Routes = [
{
path:'',
component: HomeComponent,
},
{
path:'about',
component: AboutComponent
},
{
path: '**',
component: NotFoundComponent
}
];
```
> Note: by default Angular router use first-match strategy: prefix, so must to be from specific route to less and use wildcard at the end.
>
> * prefix:, it's find the parth and try with child routes.
>
> * full: all segments must match the path skipping the child.
>
>
> Read more about [pathMatch](https://angular.io/guide/router-tutorial-toh#pathmatch)
Open the `app.component.html`, which contains default HTML and a `routerOutlet`. Remove the existing content and add the following snippet:
```xml
The Store
```
Save the changes and run `ng server -o` to open the browser to the local server. To test our routes, navigate to each route, and the router loads each component that matches. Additionally, the wildcard captures any incorrect routes, redirecting them to the `not-found` component.
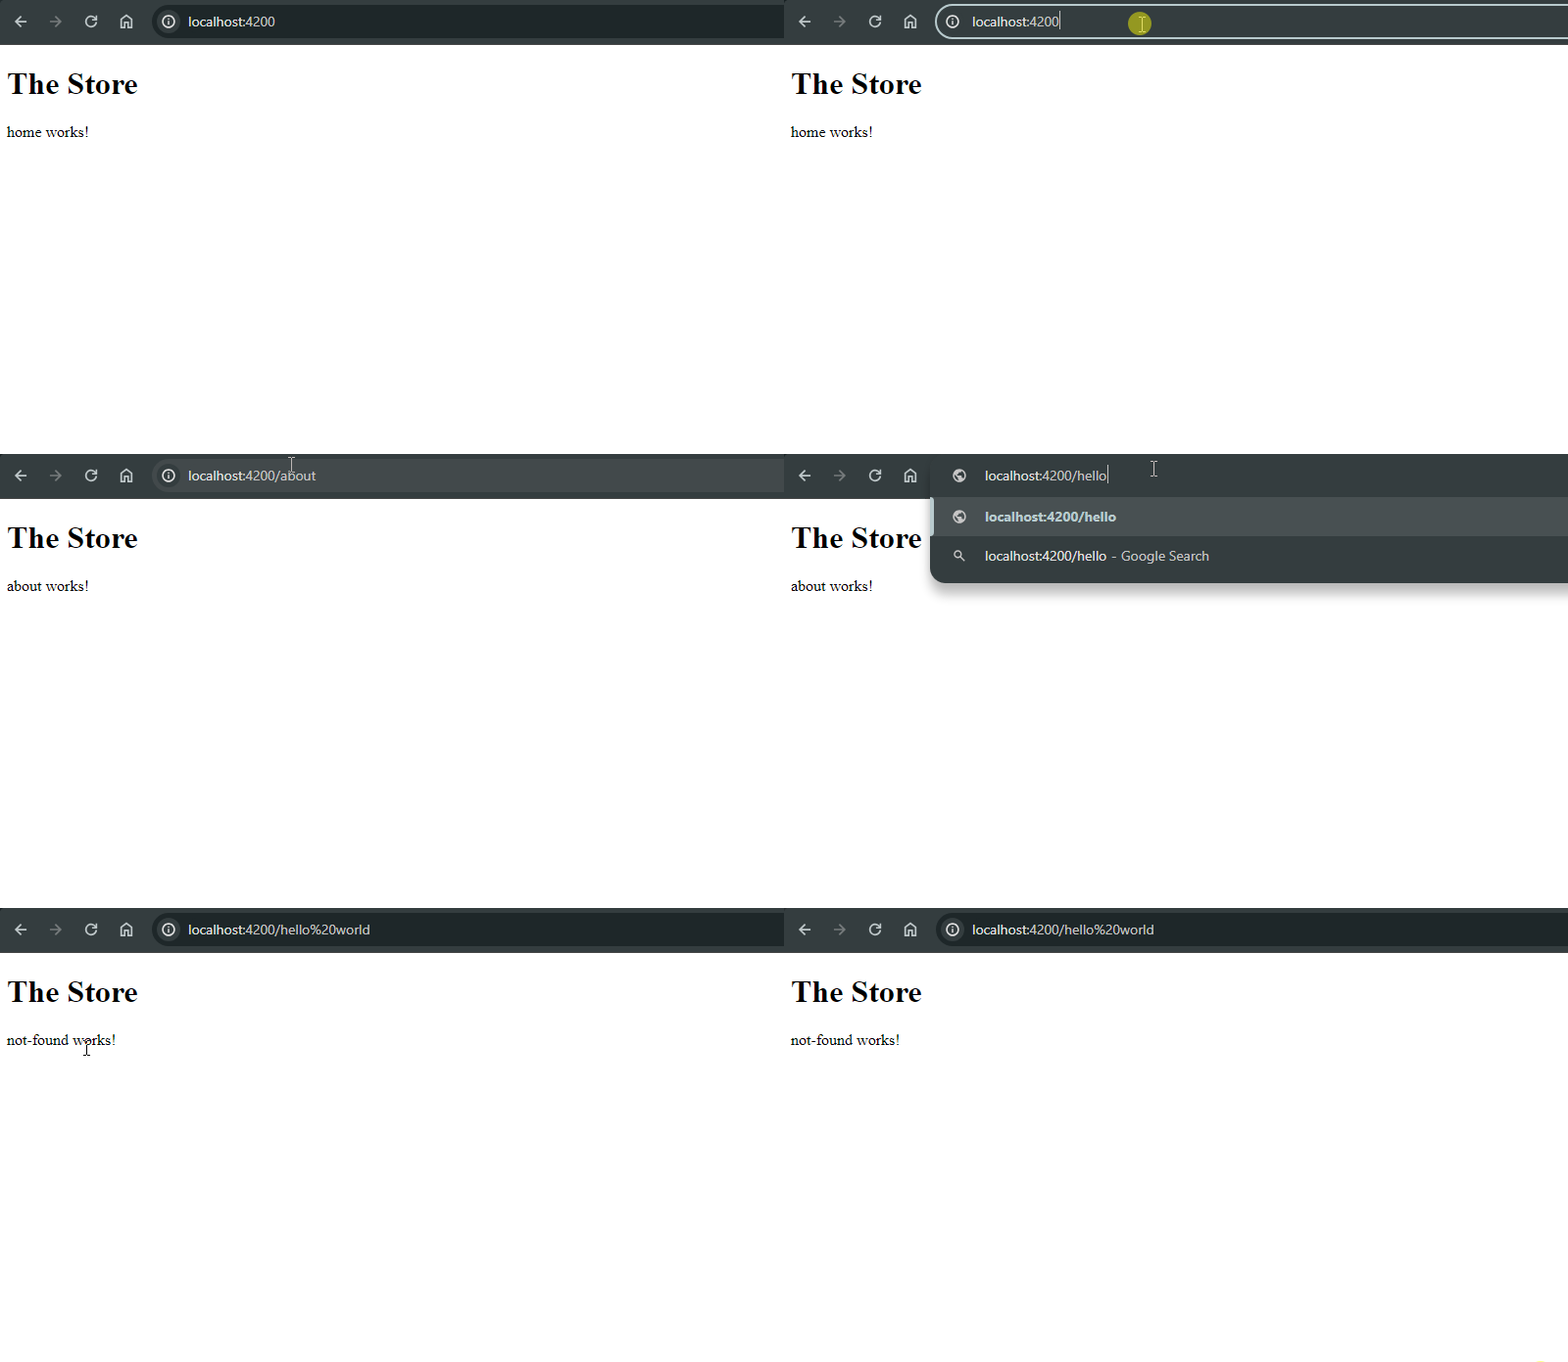
it works but what happens when we want to add more routes or under the about like `about/team` or `about/company`? it's time to use children's routes.
## Children Routes
We want to create new routes, so using the CLI generate two pages more `team` and `company` under the `about` page.
```xml
ng g c pages/about-me/company
ng g c pages/about-me/team
```
Next, under the `about` directory, create the `about.route.ts` file to declare the new routes. This will be similar to the initial `app.routes`, but in our case, it is a single object with the `children` property pointing to the new routes `about/team` and `about/company`, as shown in the following code:
```typescript
export const aboutRoutes: Route =
{
path:'about',
component: AboutComponent,
children: [
{
path: 'team',
component: TeamComponent
},
{
path: 'company',
component: CompanyComponent
}
]
}
```
Next, add the `` to the `about.component.html`
```xml
about works!
```
Finally, in the `app.routes`, import the `aboutRoutes` into the routes array.
```typescript
import { Routes } from '@angular/router';
import {HomeComponent} from "./pages/home/home.component";
import {NotFoundComponent} from "./pages/not-found/not-found.component";
import {aboutRoutes} from "./pages/about-me/about-me.routes";
export const routes: Routes = [
{
path:'',
component: HomeComponent,
},
aboutRoutes,
{
path: '**',
component: NotFoundComponent
}
];
```
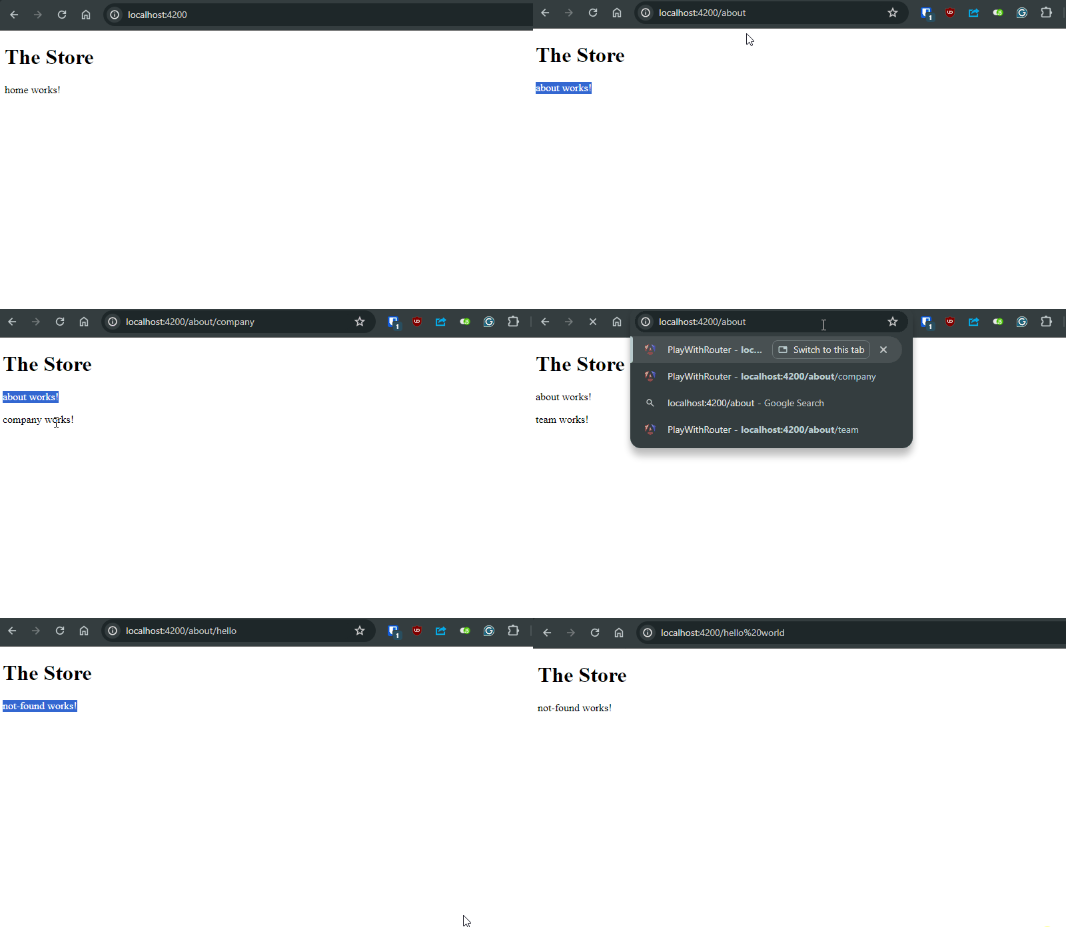
Save changes and navigate to the new routes!
### Route Tokens
We have defined our router path in a static string, and it works, but what happens if we need to declare the path in other places like navigation, and then we want to change the path name from home to start?
We must change the string `'home'` in all places. Instead of adding the route manually, declare a const with our route tokens.
Open the `app.route.ts` and declare a const with all route tokens, something like:
```typescript
export const ROUTE_TOKENS = {
HOME : 'home',
ABOUT : 'about',
COMPANY : 'company',
TEAM : 'team'
}
```
Next, update the `app.route.ts` and `about.route.ts` to use the `ROUTE_TOKENS`.
`app.route.ts` file
```typescript
export const ROUTE_TOKENS = {
HOME : 'home',
ABOUT : 'about',
COMPANY : 'company',
TEAM : 'team'
}
export const routes: Routes = [
{
path:'',
redirectTo: ROUTE_TOKENS.HOME,
pathMatch: "full"
},
{
path: ROUTE_TOKENS.HOME,
component: HomeComponent,
},
aboutRoutes,
{
path: '**',
component: NotFoundComponent
}
];
```
`about.route.ts`
```typescript
import {Route} from "@angular/router";
import {AboutComponent} from "./about-me.component";
import {TeamComponent} from "./team/team.component";
import {CompanyComponent} from "./company/company.component";
import {ROUTE_TOKENS} from "../../app.routes";
export const aboutRoutes: Route =
{
path:ROUTE_TOKENS.ABOUT,
component: AboutComponent,
children: [
{
path: ROUTE_TOKENS.ABOUT,
component: TeamComponent
},
{
path: ROUTE_TOKENS.COMPANY,
component: CompanyComponent
}
]
}
```
With this small refactor, we can create the navigation without any issues regarding typos or difficulty updating the path.
## Create The Navigation
We've set up the router, but providing navigation links is much more convenient than typing the path every time we want to go somewhere.
Angular offers several methods to create powerful navigation using the `RouterLink` and `RouterLinkActive` directives, as well as the `RouterService`, for a robust and user-friendly experience.
### RouterLink
The `RouterLink` directive helps us connect our HTML elements to communicate with the router, we just import it in the imports array.
The [`routerLink`](https://angular.io/api/router/RouterLink) is more than set the path to the route, it helps to pass parameters like string or dynamic values to the path segment.
* `"/"` for an absolute path
* `"./"` relative to the current active route path
* `""` without a slash adds the path to the current active route
* `"../"` moves up one level from the current active route
> Read more about [Relative Paths](https://angular.io/guide/router#using-relative-paths)
### Create a Navigation
We want to create an area that includes all routes. The easiest way to do this is by creating a `navigation` component. To create a new component, use the Angular CLI:
```typescript
ng g c components/navigation
CREATE src/app/components/navigation/navigation.component.html (26 bytes)
CREATE src/app/components/navigation/navigation.component.spec.ts (647 bytes)
CREATE src/app/components/navigation/navigation.component.ts (263 bytes)
CREATE src/app/components/navigation/navigation.component.scss (0 bytes)
```
First, we need to import the directives `RouterLink` , `RouterActive` and the `ROUTE_TOKENS` in the `navigation.component.ts`
```typescript
import { Component } from '@angular/core';
import { RouterLink, RouterLinkActive } from '@angular/router';
import { ROUTE_TOKENS } from '../../route-token';
@Component({
selector: 'app-navigation',
standalone: true,
imports: [RouterLink, RouterLinkActive],
templateUrl: './navigation.component.html',
styleUrl: './navigation.component.scss',
})
export class NavigationComponent {
public readonly navigation = ROUTE_TOKENS;
}
```
Open `navigation.component.html` file markup using the ul and li with the `routeLink` directive and passing the token `HOME`, and `ABOUT`.
```typescript
Home
About
```
Remember to add links to the company and team page in the about page. First, import the `ROUTE_TOKENS` in the `about.component.ts`.
```typescript
import { Component } from '@angular/core';
import { RouterLink, RouterOutlet } from '@angular/router';
import { ROUTE_TOKENS } from '../../route-token';
@Component({
selector: 'app-about',
standalone: true,
imports: [RouterOutlet, RouterLink],
templateUrl: './about-me.component.html',
styleUrl: './about-me.component.scss',
})
export class AboutComponent {
protected readonly ROUTE_TOKENS = ROUTE_TOKENS;
}
```
Finally, add two links using the `routerLink` directive pointing to the `COMPANY` and `TEAM` tokens.
```typescript
about works!
Thanks for interest in learn more about
Company
and our
TEAM
```
Save changes and we have a navigation in our application! 🎉
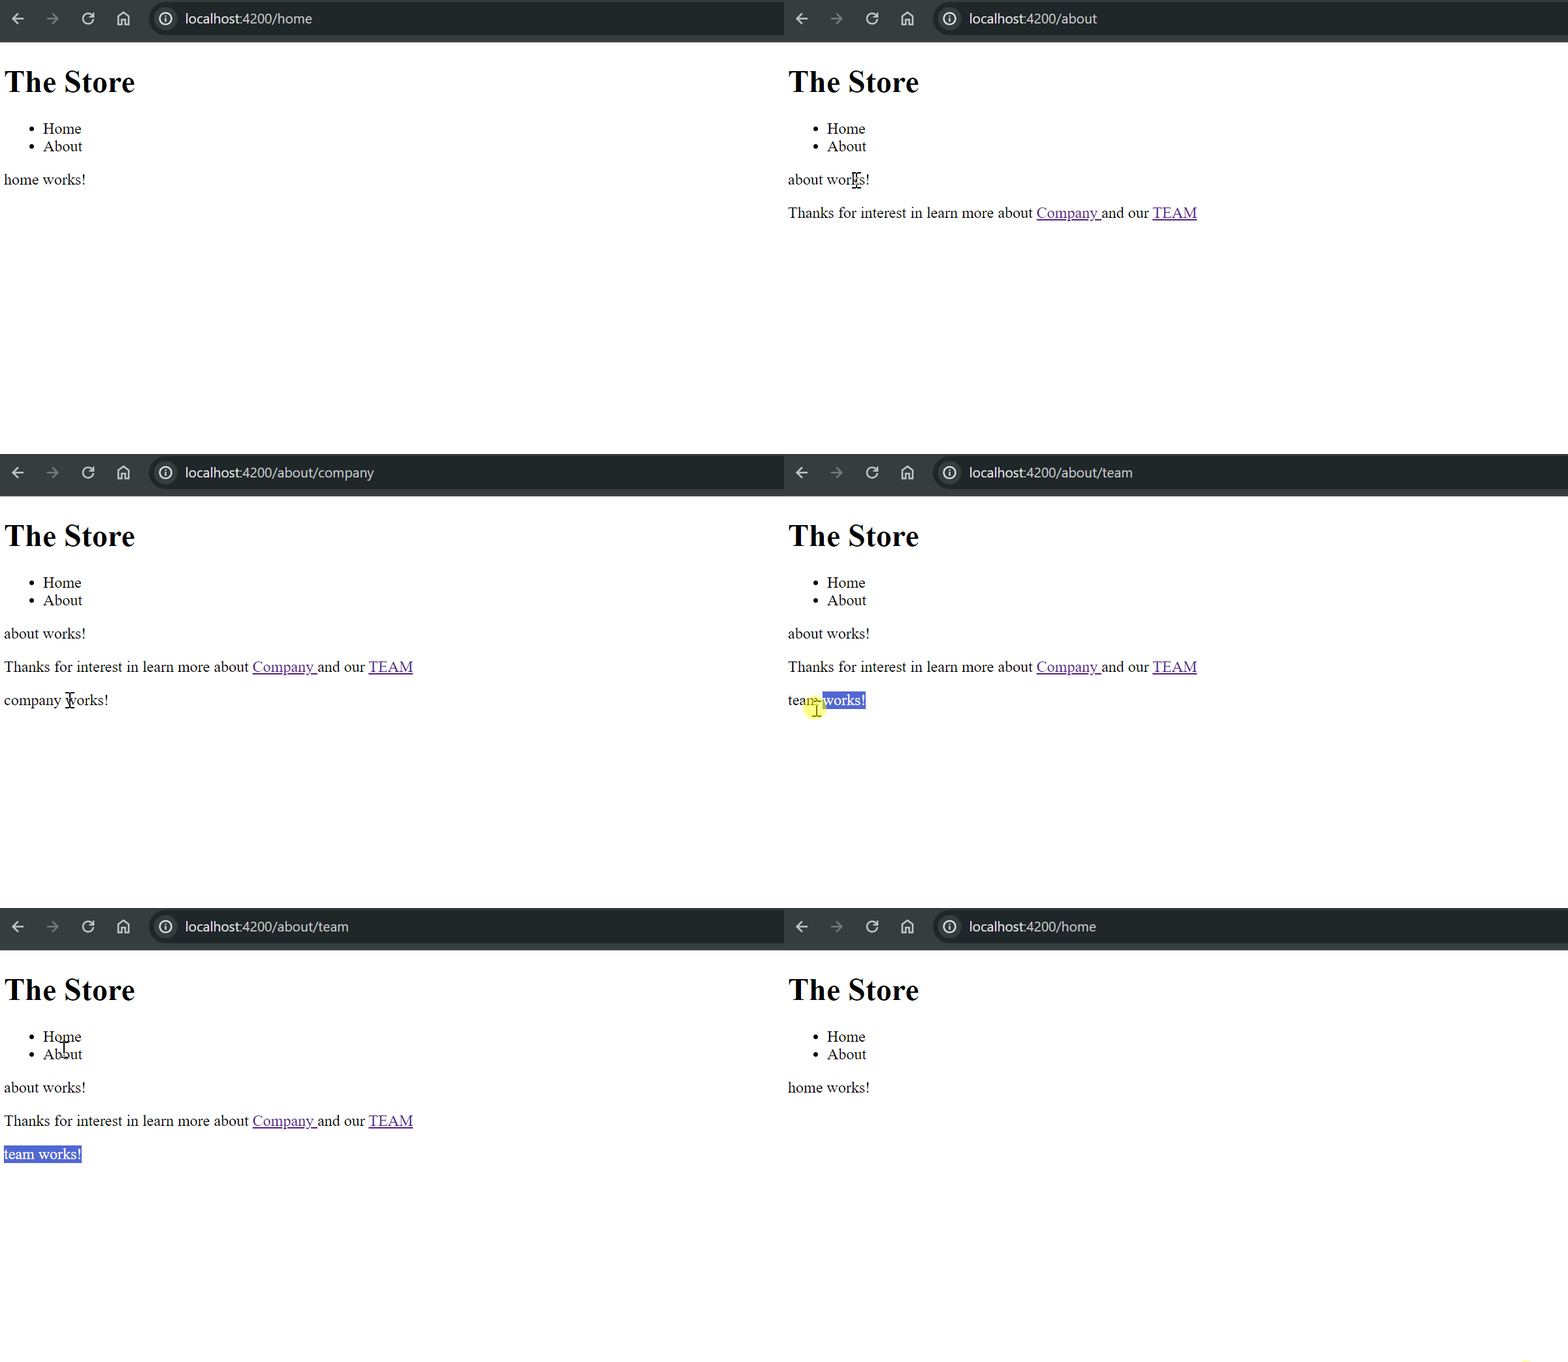
Alright, we now have navigation without the need for manual intervention. However, it looks a bit plain. How can we improve the navigation without putting in too much effort?
## Building a Navigation with Kendo NavBar
First, install the Kendo UI Navigation using the schematics, as it registers all the dependencies required by Kendo UI.
```bash
ng add @progress/kendo-angular-navigation
```
Because I love the [fluent theme](https://www.telerik.com/design-system/docs/themes/theme-fluent/), I will install it and update the `angular.json` to use it.
```bash
npm install --save @progress/kendo-theme-fluent
```
> Remmeber to add the font-family: "Segoe UI", sans-serif in styles.scss to use Segoe UI as default font.
Import the NavigationModule in the navigation.component.ts, then open the navigation.component.html to modify the markup.
To set up my navigation, I utilize several components provided by the `NavigationModule`.
* `kendo-appbar` container for app bar with position top and theme dark.
* `kendo-appbar-spacer`: space between elements.
* `kendo-appbar-section`: set a section one for the `title` and the other for the list of links.
To visually show the active route to the user, we combine the `routerLinkActive` directive with a new class `active-link` in this way `[routerLinkActive]="'active-link'"`.
The final code looks like this:
```xml
The Store
Home
About
```
Add the following snippet to `navigation.component.scss`, making adjustments to the `ul` and modifying the `color` and `font-weight` for the active link class.
```css
ul {
margin: 0;
display: flex;
list-style-type: none;
padding: 0;
li {
margin: 0 9px;
}
li:hover {
cursor: pointer;
color: #e87890;
font-weight: bold;
}
}
.active-link {
color: #e87890;
font-weight: bold;
}
```
Before finishing, add some content to the home and about pages to make them look less empty.
`home.component.html`
```xml
Welcome to the Store!
Discover quality products, unbeatable prices, and exceptional service.
From fashion to electronics, we've got what you need. Shop with confidence and enjoy a hassle-free experience with us.
```
`about.component.html`
```xml
About
Welcome to our About page! At The Store, we're more than just an online store – we're a passionate team dedicated to
revolutionizing the way you shop. Our journey began with a simple idea: to create a platform where customers can discover
unique products from around the globe, all in one convenient location. With a focus on quality, innovation, and customer
satisfaction, we've built a brand that stands for excellence in every aspect of the shopping experience.
Behind The Store is a diverse and talented team committed to bringing our vision to life. From our dedicated customer
support specialists to our expert product curators, each member plays a crucial role in delivering the exceptional
service and selection that our customers know and love. Meet the faces behind the brand and learn more about our team.
```
Save changes and observe the improved navigation with status indicators when a user selects a route! yeah!! 🎉
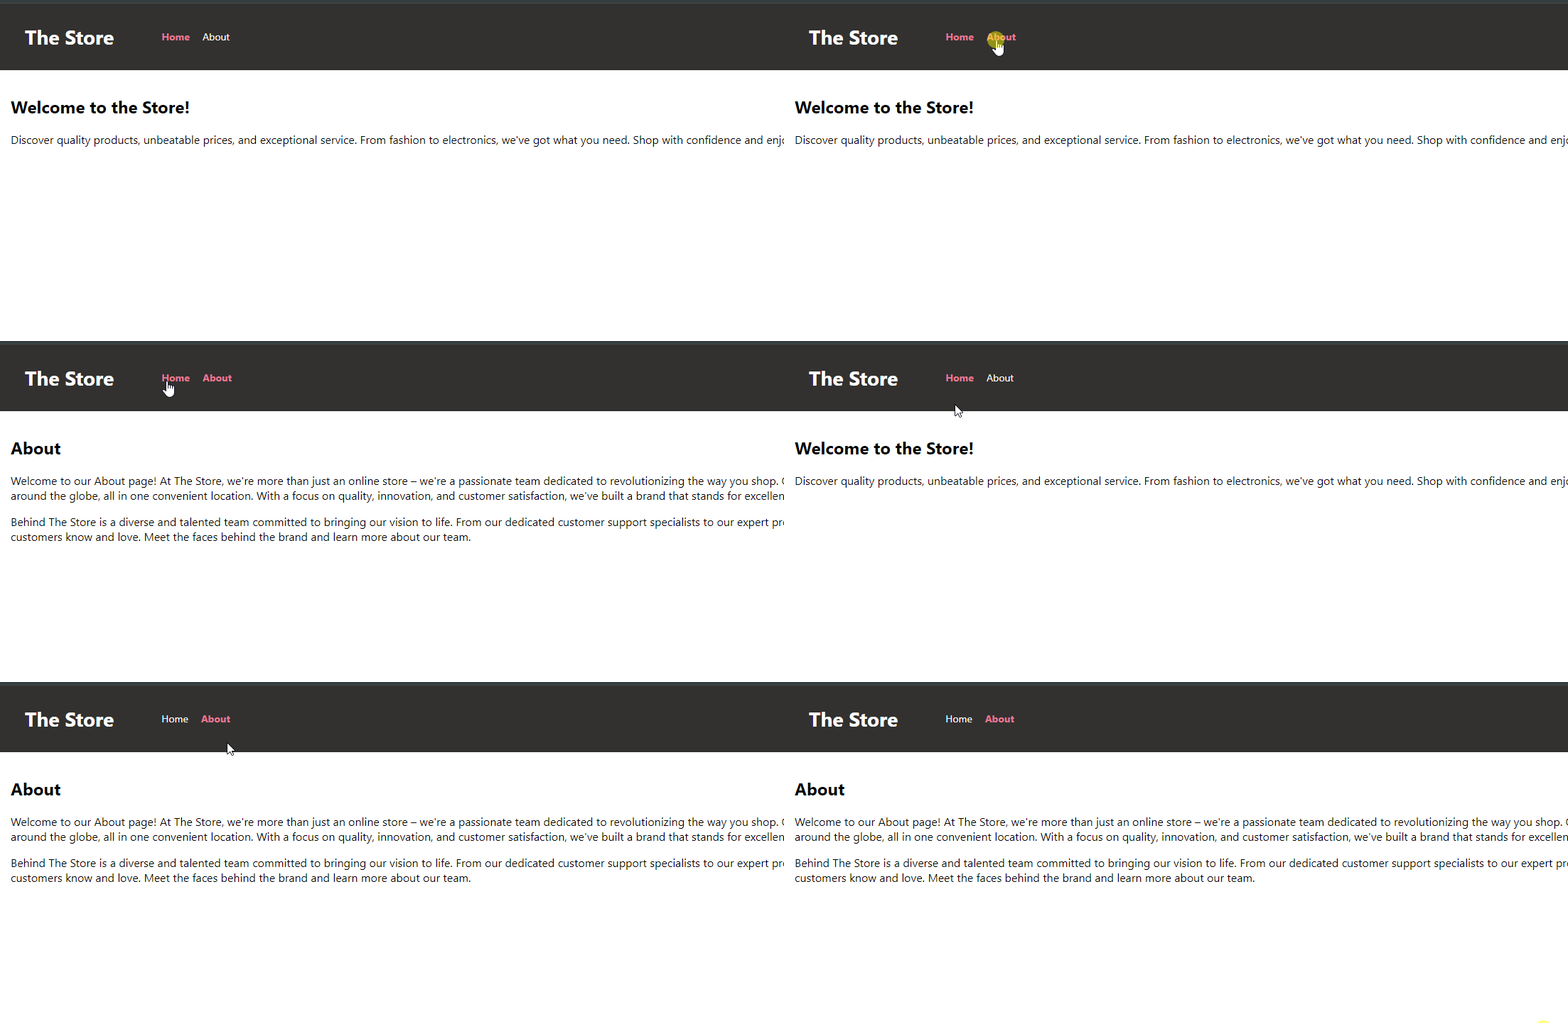
Using the navigation component is great because users can interact with it. However, what if we want to navigate based on certain conditions, such as when a user accepts some terms, or if something is valid, we send the user to the home page or recovery?
For this purpose, Angular offers the [Router Service](https://angular.io/api/router/Router). Let's check it out!
## Navigate with Router Service
The [RouterService](https://angular.io/api/router/Router) provides a set of methods and functionality, but one of them is methods `navigate` and `navigateByUrl` , which allow to move the user through the application and routes programmatically.
* `navigate`: works with absolute and relative paths, and also supports the NavigationExtras object for query params, passing state, or managing browser history.
* `navigateByUrl`: only supports absolute paths, with a string URL or URL tree, and supports optional NavigationBehaviorOptions for state and browser history.
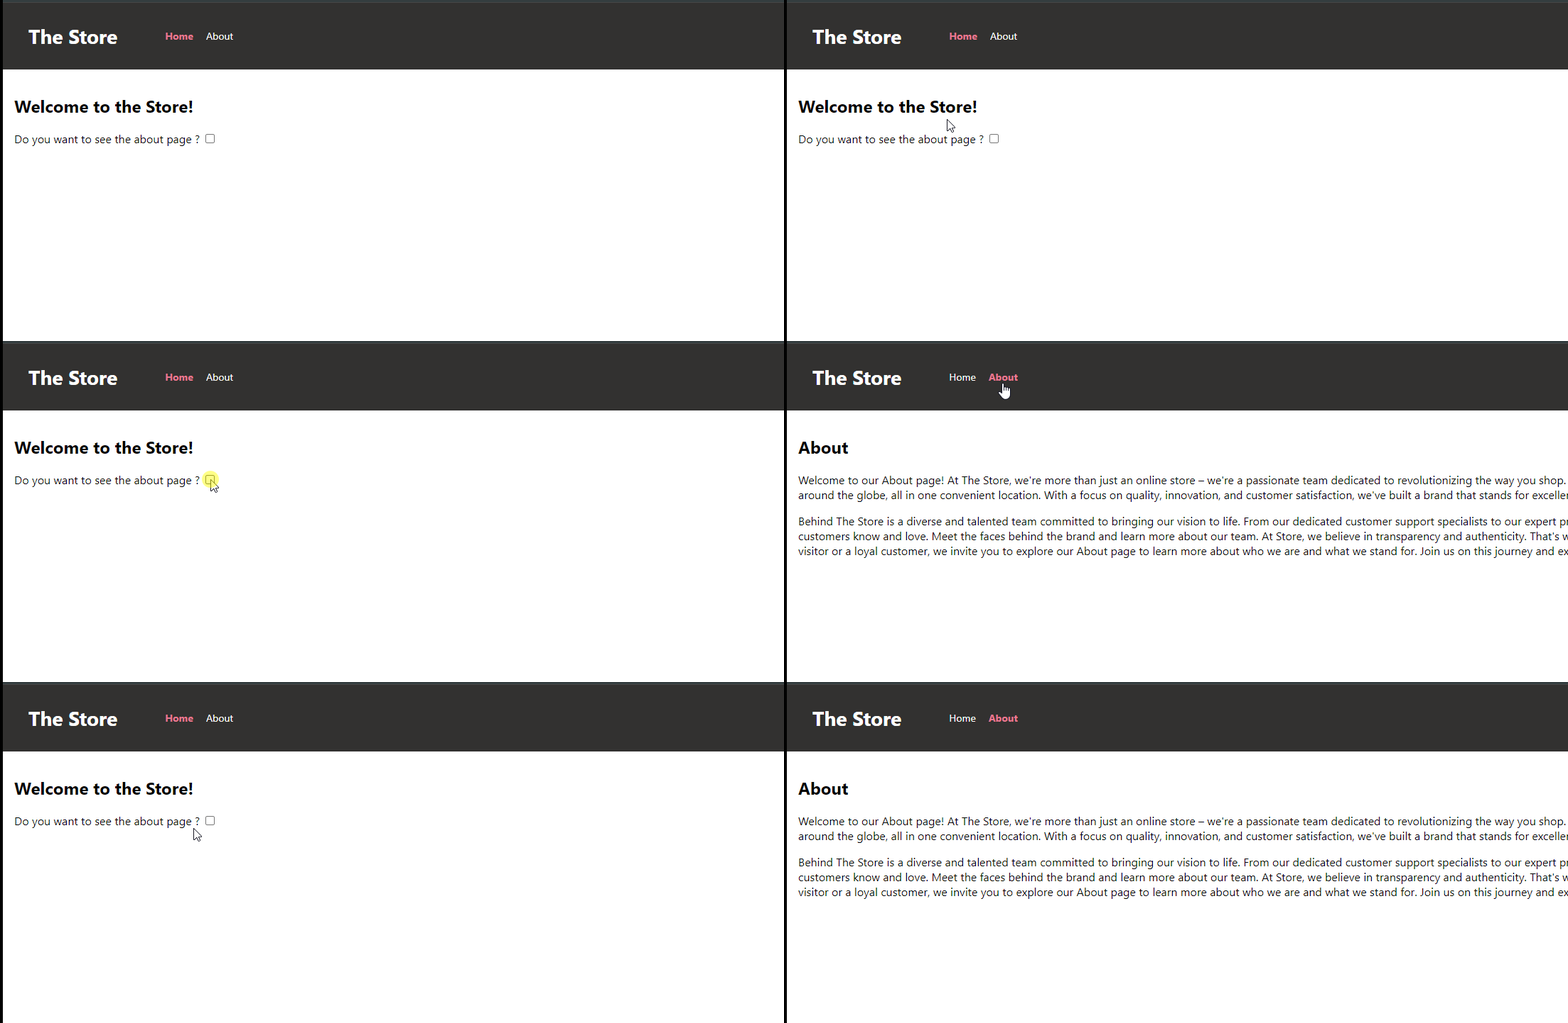
In our example, we use the navigate method, in the home component we want when accept some terms them navigate to the about page, by using the router service.
Open the `home.component.ts` and `inject` the router. Then, create a handler for `acceptTerms`. If it is `true`, `navigate` to the about URL.
```typescript
export class HomeComponent {
readonly router = inject(Router);
public acceptTerms(value: boolean) {
if (value) {
this.router.navigate([ROUTE_TOKENS.ABOUT]);
}
}
}
```
In the `home.component.html`, add the following snippet, which includes text and a checkbox. Bind the change event to the `acceptTerms` method, passing the `accepterm` checkbox value:
```xml
```
Save changes and see how the user navigates from home to about when accept the terms 🥰
## Recap
Yes, we learned how to register routes within our application, making it easier to define the paths that users can follow. Additionally, we used the routerLink and routeActiveLink directives, which allowed us to create seamless navigation between different components and receive visual feedback.
Additionally, we can build visually appealing and user-friendly navigation using [Kendo UI Navigation](https://www.telerik.com/kendo-angular-ui/components/navigation/) and the RouterService. This provides us with the ability to programmatically navigate to routes from within our code.
* [Source Code](https://github.com/danywalls/play-with-angular-router)
* [Kendo UI Navigation](https://www.telerik.com/kendo-angular-ui/components/navigation/)